
Photo by Markus Spiske on Unsplash
Have you ever stumbled across a situation where you have your React Admin web application deployed on AWS Amplify and you are using custom APIs to authenticate your users with your AWS Cognito setup? Have you ever wondered if you really need those custom APIs or does AWS Amplify provide a neat way to directly talk to your AWS Cognito setup?
These are exactly the questions that got us thinking as well. After a bit of research, we were excited to realize that AWS Amplify did provide an out-of-the-box solution with AWS Amplify API and Amplify UI for React but that led to the next question: How do we integrate all of this into our React Admin based web application which already comes with its own authProvider component? A quick google search reveals that there is a ra-cognito npm package available but many of its dependencies are out of date (also reported in issue#10) and conflict with latest React Admin version. Therefore, in this blog we will present a way to directly incorporate AWS Amplify API into our React Admin application.
In order to grasp a complete understanding of our solution, it is highly recommended to familiarize yourself with
- React
- React Admin and its Admin component
- The authentication work-flow used in React Admin
- AWS Amplify API
- Amplify UI for React
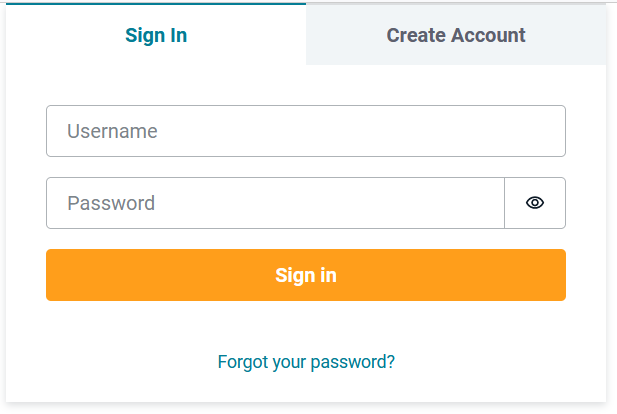
Step 1: Create a login component using Amplify UI for React
First we need to create a custom Login page based on Amplify UI that we can later hook up to the React Admin application. In order to do that, you just need to create
a normal React functional component and use the Authenticator component provided by Amplify UI which
automagically (and yes that is an actual word) adds a complete authentication work flow provided by Amplify e.g. user sign-in,
sign-up and a feature to reset password etc. A sample of such a login page is given below
//Login.js

import React from 'react';
import { useRedirect } from 'react-admin';
import { Authenticator } from '@aws-amplify/ui-react';

const LoginPage = () => {
  const redirect = useRedirect();

  return (
    <Authenticator>
      {({ user }) => {
        console.log(`User logged in: ${user.username}`);
        return (<span>{redirect('/')}</span>);
      }}
    </Authenticator>
  );
};

export default LoginPage;
The Authenticator component here offers various customizations e.g. you can provide your own custom Header or
Footer to the login page by simply passing those components as props to the Authenticator. For further details,
please read through the official Amplify UI documentation provided here.
Furthermore, within the Authenticator context you have access to the information of the signed in user e.g. their JWT, username etc. which you can choose to persist in a session storage or local storage and then have access to it throughout your React Admin application.
Step 2: Hookup the custom login component with React Admin
Now that we have our Login page ready, we need to hook that up with our React Admin such that the application renders our custom Login page instead of the default login
page provided by React Admin. To do this, we have to open up /src/App.js in our React Admin application and search for the Admin component. This component is
basically responsible for routing, state and controller logic of the whole application. However, for this blog we are only concerned with two of its props
- loginPage
- authProvider
We will now pass our custom built LoginPage.js (from Step 1) to the loginPage prop (see below).
// src/App.js

import LoginPage from '. /LoginPage'; // our custom login page built in Step 1
import authProvider from './data/authProvider'; // we will visit this in the next step


const App = () => (
  <Admin
    …
    loginPage={LoginPage}
    authProvider={authProvider}
  >
    {…}
  </Admin>
);

export default App;
Now whenever users opens up the Login page of our application they will see the page from the AWS Amplify UI.
But we still need to make our Login page functional so that it actually talks to our AWS Cognito setup via AWS Amplify and that is where our next step comes in.
Step 3: React Admin AuthProvider changes
By default, all React Admin applications come with no authentication implemented. But you can implement your own authentication strategy by extending the authProvider while keeping in mind the required interface.
// src/data/authProvider.js

const authProvider = {
  // authentication
  login: ({ username, password }) => { /* ... */ },
  checkError: (error) => { /* ... */ },
  checkAuth: () => { /* ... */ },
  logout: () => { /* ... */ },
  getIdentity: () => { /* ... */ },
  getPermissions: (params) => { /* ... */ },
}

export default authProvider
Each attribute in the authProvider object above represents a method (details of each can be found here)
that React Admin exposes to handle authentication work-flow in the application. For our current example, we only need to concern ourselves with the login and logout methods.
Login: since the login functionality is completely handled by the Authenticator component of AWS Amplify
(Step 1) therefore, we can either remove this attribute completely from the authProvider object or just return null.
Logout: this is the method that is called when a user tries to logout from the React Admin application and in our case we want to logout via AWS Amplify. To do that,
we can just directly call the signOut() provided by the Auth class of AWS-Amplify.
// src/data/authProvider.js
Import { Auth } from ‘@aws-amplify/auth’;

const authProvider = {
  // authentication
  login: () => { return null },
  logout: () => { return Auth.signOut(); },
}

export default authProvider
And that is it. You now have a working integration of AWS-Amplify with your React Admin application that directly talks to your AWS Cognito setup for things like
- User sign in
- User sign out
- New user account creation
- Reset password
What lies ahead?
The topics covered above were just to give you a kick-start into how you can integrate some of the basic user authentication methods into your React Admin application. However, as soon as you feel confident enough, it is highly recommended to dive deeper into what AWS Amplify API and Amplify UI have to offer because that would give you plenty of options to tweak your user authentication and authorization experience.
Libraries used in this example
- React Admin (v3.15.2)
- aws-amplify (v4.3.14)
- @aws-amplify/auth (v4.4.1)
- @aws-amplify/core (v4.3.14)
- @aws-amplify/ui (v3.0.14)
- @aws-amplify/ui-react (v2.5.0)
About the Author
 Anam Dodhy is a software engineer who has primarily been working on front-end technologies at Hoppe Marine for the last few years. She loves solving challenging problems and writing clean reusable code.
In her free time, she enjoys playing table tennis and is an avid follower of multiple TV series.